
The lighting of a swimming pool is not just about choosing an LED spotlight and screwing it into a niche. The placement of the lights determines what swimmers perceive in the water, what guests see from the terrace, and how easily you can replace a bulb in five years.
Discussions among pool owners often come back to the same observation: shadowy areas persist despite a number of lights deemed sufficient, while some beam angles create annoying glare for anyone swimming or relaxing at the edge.
Recommended read : Tips and Tricks to Enhance Your Well-Being and Health Daily
Glare and shadow areas: the real problem of pool light positioning
Most guides focus on luminous power or color temperature. The physical placement of the projector in the pool wall receives less attention, even though it generates the two most common flaws: shadowy areas at the bottom of the pool and a beam that hits swimmers’ eyes directly.
An underwater light installed too high on the wall projects its light onto the surface. The reflection dazzles anyone sitting on the terrace facing the projector. Conversely, a light positioned too low illuminates the bottom without diffusing towards the center of the water volume, leaving a dark band at mid-depth.
Read also : Choosing the Perfect Fabric for Your Next Clothing Creation
Field feedback in specialized forums confirms that the orientation and height of installation matter more than the number of lights. Several users describe pools equipped with two or three projectors that remain poorly lit, not due to a lack of power, but because the beams all converge on the same area. Following Miss Déco’s advice on placement helps anticipate these errors before pouring concrete or installing the shell.
To limit glare, the projector should be aimed at the opposite wall rather than towards the center of the pool. The swimmer never faces the light source. From the terrace, the perceived light is that which bounces off the bottom and walls, creating a much more pleasant diffuse effect than a direct beam.
Placement of submerged projectors: depth, spacing, and beam orientation
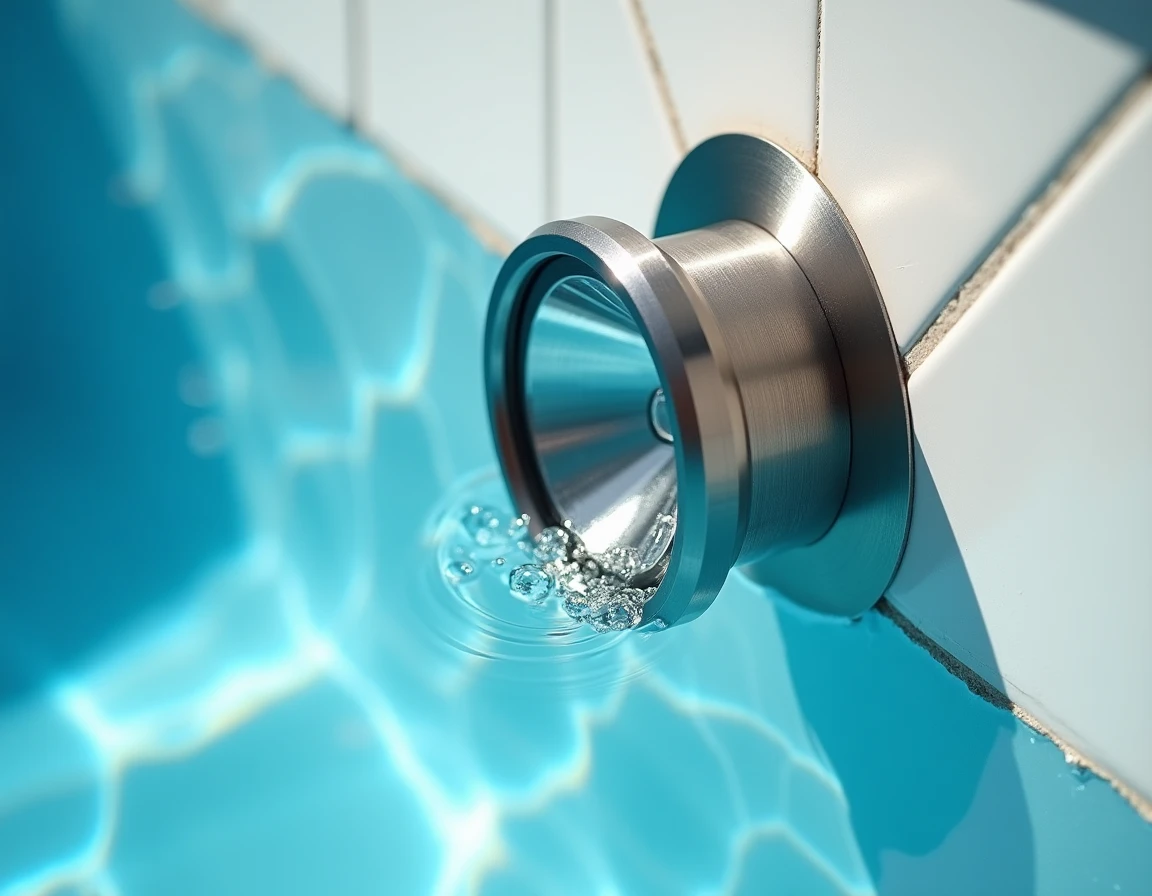
The installation depth of the light in the wall conditions the light distribution throughout the water volume. Manufacturers generally recommend placing the niche at about half the height of the wall. This mid-position allows the beam to cover both the bottom and the surface without creating dead zones.
Spacing between two lights in a large pool
In a rectangular pool, distributing the projectors along one large side (the one facing the terrace) yields a more uniform result than scattering them across all four walls. The beams slightly overlap in the center of the pool, which avoids dark bands between two light cones.
Placing the lights on the side opposite the terrace eliminates glare for guests. The light travels towards them after crossing the entire width of water, which softens and diffuses it naturally.
Beam orientation: towards the bottom or towards the opposite wall
A projector slightly tilted downwards (a few degrees below horizontal) illuminates the bottom of the pool and creates a sense of depth. A perfectly horizontal beam crosses the water volume and hits the opposite wall, which further illuminates the mid-section. The choice depends on the desired effect:
- Downward-tilted beam: the bottom of the pool becomes bright, the water takes on a more saturated hue, but the surface remains darker when viewed from the terrace
- Horizontal beam: the light spreads throughout the depth, the effect is more uniform, and the pool appears wider from the outside
- Slightly upward-angled beam: not recommended in most cases, as it creates surface reflections and dazzles swimmers looking towards the wall
Maintenance and accessibility: a placement criterion often forgotten
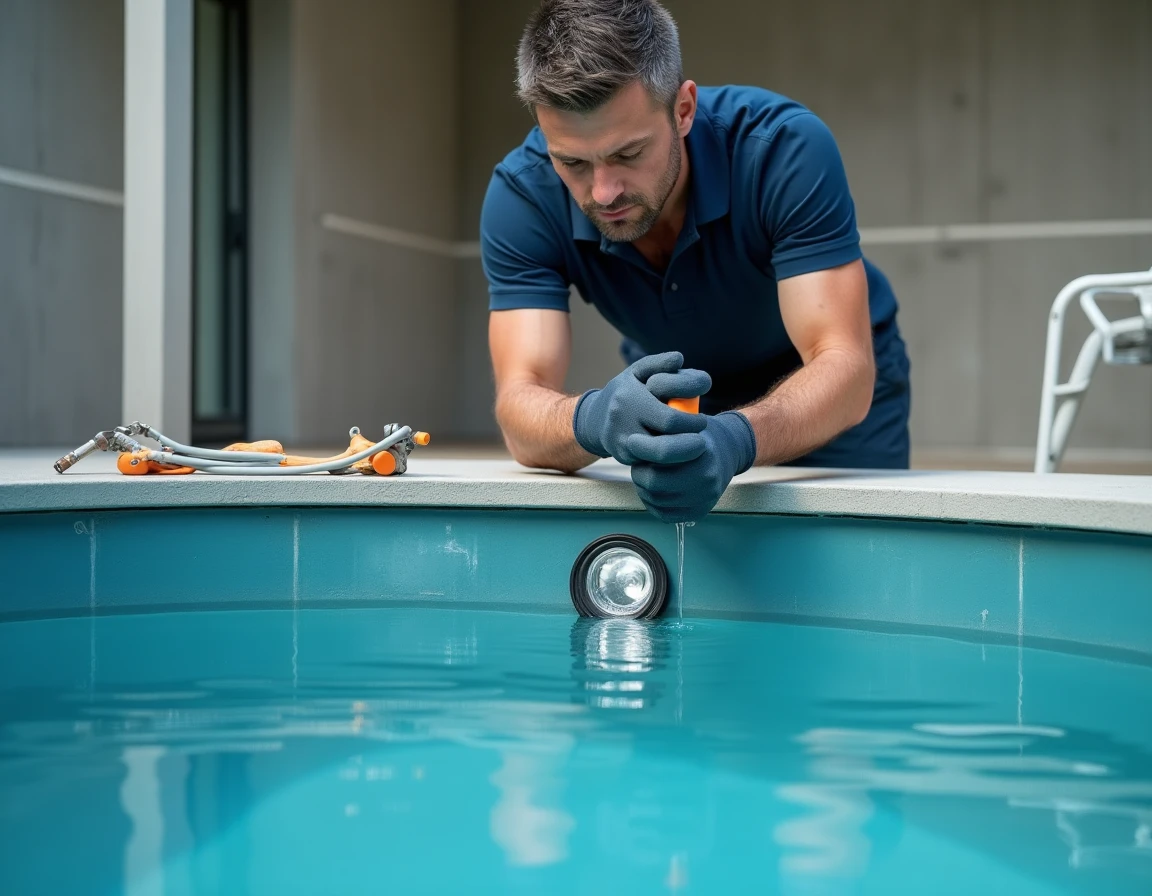
Recent content from manufacturers and installers emphasizes a point that articles focused on aesthetics overlook: a well-placed light is also a light that can be replaced without draining the pool. The embedding niche must remain accessible from the deck or technical room, with a long enough cable to bring the projector to the surface.
In a shell pool, niche locations are often predefined by the manufacturer. The margin for maneuver is then limited to choosing the model of projector and its orientation in the existing housing. In a masonry pool, the niche can be positioned freely, allowing more latitude to optimize both lighting and accessibility.
A classic pitfall is placing a niche behind an underwater staircase or under a California deck. The light adequately illuminates the step area, but its replacement requires the intervention of a diver or partial draining of the pool. Ensuring clear access around each niche reduces maintenance costs over the lifespan of the pool.
Peripheral ground lighting and terrace lights: complements or alternatives
Recessed lights in the coping or in the ground around the pool do not replace submerged lighting, but they change the overall perception of the pool at night. Ground peripheral lighting creates a halo that outlines the pool’s contours and ensures safe movement on the deck.
Terrace lights directed towards the ground (and not towards the water) avoid creating distracting reflections on the surface. A ground spotlight aimed at the coping should never directly illuminate the water’s surface, as it can produce glare comparable to that of a poorly oriented submerged projector.
- Recessed coping lights: discreet marking, low power, useful for safety around the pool
- Low terrace bollards: soft ambiance, indirect lighting that does not disturb the view of the water from outside
- LED strips under the coping: continuous light line effect, suitable for overflow pools where submerged lighting alone is insufficient to mark the edge
The placement of these complementary luminaires follows the same logic as for submerged projectors: the light should always travel in the opposite direction to the gaze. A ground spotlight installed on the terrace illuminates towards the pool and dazzles the swimmer exiting the water. Installed on the garden side, it lights the coping without bothering anyone.
Every placement decision, whether for a submerged projector or a ground spotlight, comes down to answering a simple question: who is looking, and in which direction. Addressing this point before drilling the first niche saves costly adjustments and an uneven lighting result.